

Designer: Fei Su
(300-level BFA General Studies)
SESSIONAL INSTRUCTOR
ALBERTA UNIVERSITY OF THE ARTS
Jewelry and Metals Department (JWLM)
Calgary, Canada
As the instructor of JWLM216 – 3D Modelling for Rapid Prototyping, I taught CAD (specifically Rhino, Flamingo, and T-Splines) to a diverse mix of students. Although the course was offered by the Jewelry & Metals Department, students from any department in the college were encouraged to enroll and I taught first-year painters and fourth-year ceramists along with novice jewelers and those about to graduate. I found jewelry to be an excellent medium in which to teach CAD, even to students in other disciplines. The range of geometries, from simple and elegant to detailed and complex, provide ample project opportunities among objects virtually everyone can relate to. Scale and proportion must be considered. Aesthetics are paramount.
At the time, I had a very limited jewelry background, but I was there to teach CAD, not jewelry design: the jewelers in the class were versed enough in the basics of jewelry design that all I needed to provide them with was the CAD tools to realize their visions. I taught them CAD, and they taught me jewelry design, and the symbiotic relationship was beneficial for everybody.
Having come from a design background, I also introduced a formal design process into the class. I had bulletin boards installed in the computer lab so we could hang up and critique ideation drawings. I insisted on copious amounts of sketching. I required clay models in concept submissions. Students presented their work to the class and were expected to participate in critiques.
LEFT: I look on as students hang work on the bulletin board at the back of the ACAD computer lab.
When I first started teaching at ACAD, I discovered that there was nowhere in the lab to hang ideation sketches for group critique. I feel that ideation sketching and interaction with other creatives is essential in moving design concepts forward, especially with those still learning (EVERYBODY is still learning…)
I requested access to a classroom with bulletin boards, and by my second week, I was delighted to find that the college had hung some right in the lab, where we went on to have weekly design critiques and discussions.
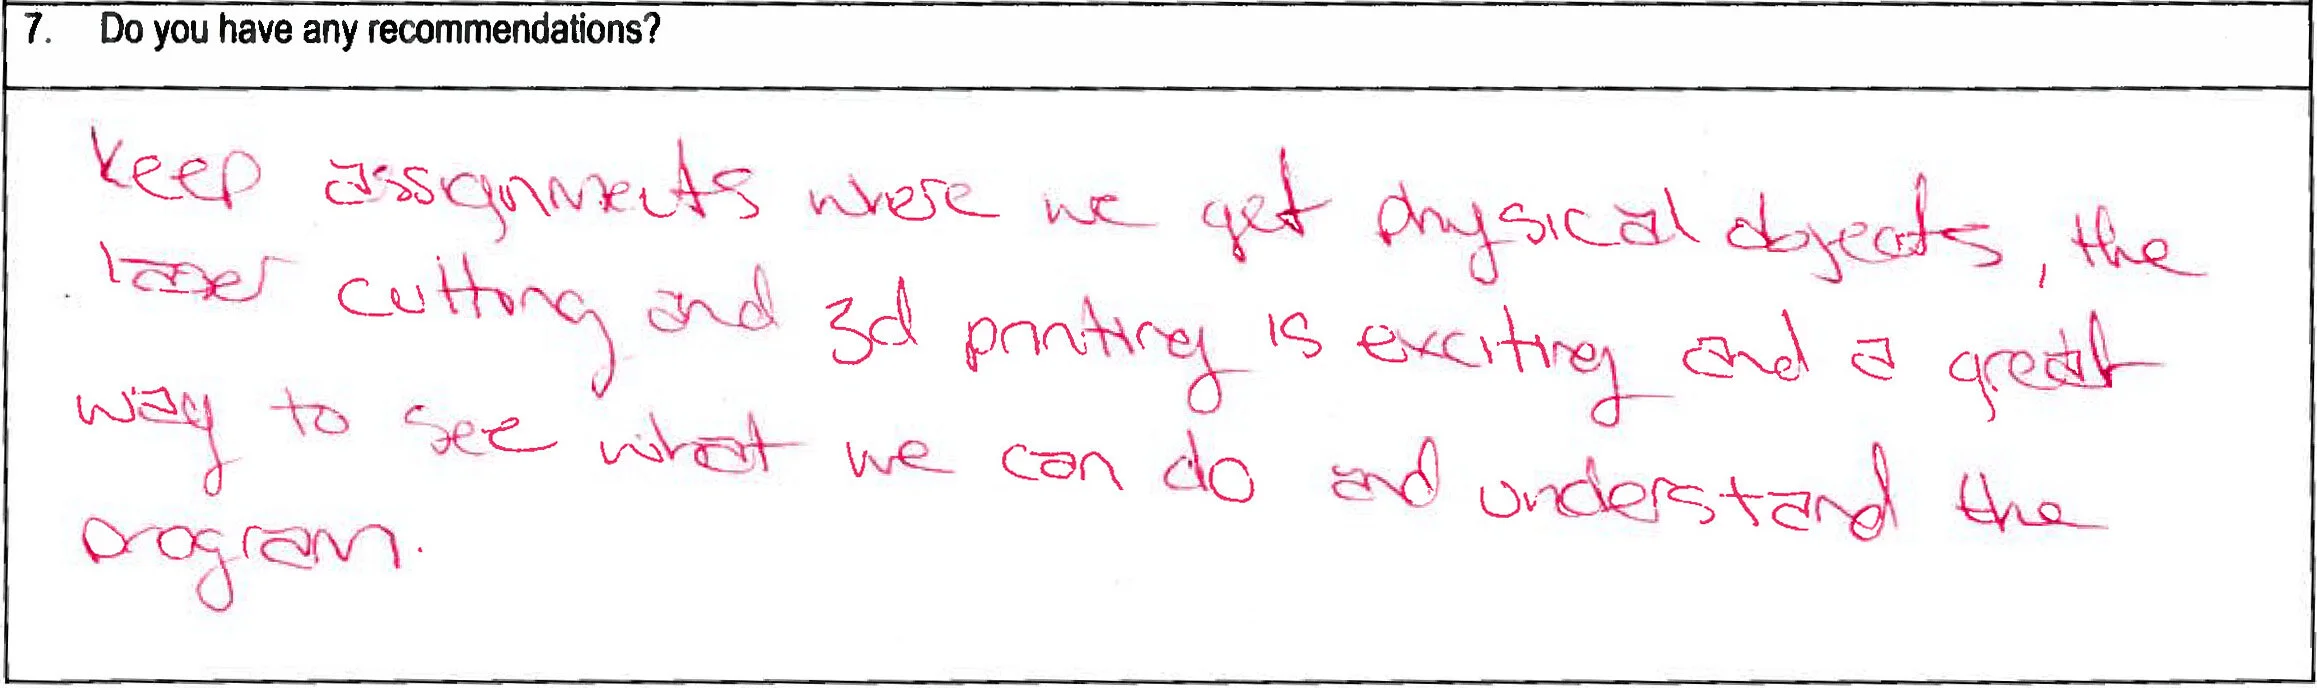
Course evaluations,
JWLM216, ACAD, 2013 - 2014
I created the curriculum for JWLM216 entirely from scratch. Highlights of my instructional work in the class include:
Field trip to laser-cutting service bureau to cut 2D earring designs from stainless steel.
3D printing assignment (ACAD students have access to a Digital Wax Systems SLA printer, as well as several FDM and powder-based 3D printers.)
CNC machining of wax masters using the college’s 3-axis Roland MDX-15 desktop mill.
An introduction to T-Splines, a Rhino plug-in which gives the designer greater creative freedom for organic modeling.
A brief introduction to Grasshopper, a parametric plug-in to Rhino (now native to Rhino 6.0).
A brief overview of both Matrix and RhinoGold, two Rhino plug-ins specifically for jewelry design. (The college unfortunately could not afford licenses for either of these programs; however, I felt it would be beneficial for students emerging into the field to have a basic understanding of the capabilities of such targeted plug-ins.)
PROJECTS
CAD modeling can only be mastered through experimentation and repetition, and I devised ways to ensure that my students interacted regularly with Rhino.
“Assignments” were due weekly, usually focusing on a few specific commands or concepts, while “Projects” were much larger endeavours, taking weeks to complete, and incorporating a more thorough design progression, from ideation sketching through to photorealistic renderings and rapid prototyping. Projects were presented to the class and critiqued as a group.
WRISTWATCH PROJECT
The wristwatch project was actually developed and refined in the product design class DES402 at the University of Alberta. It translated very nicely into an introductory modeling project in a jewelry design course. We started on the project in the third week of classes and the final presentation was held during the eighth week of classes. Almost all my students were absolute newcomers to CAD modeling (and sometimes to computers in general), and I was very proud of them for making the leaps forward that they made in two months.
Designer: Amanda Bongiovanni-Duclos
200-level BFA General Studies
The design brief for the watch project stated:
“Imagine you have been hired as a consulting designer by a multinational wristwatch manufacturer. Your client wishes to revitalize one model in its current line of wristwatches. To minimize production costs, only the body of the watch will be renewed, and paired with an existing strap, for which the production facilities already exist.
Your first project consists of two components:
Create a 3D CAD model of an existing wristwatch strap, to the nearest 0.5mm.
Design and create a 3D CAD model of a wristwatch body to match the existing strap.
Designer: Mareike Stobbe
100-level First Year Studies
“We will be following a typical design process for this project:
Define the design criteria: In this instance, your first step in defining the design criteria will be to procure an existing watch strap, from which you will derive your design. Your watch strap will necessarily dictate the style of watch body you will design: Will it be a man’s watch, or a woman’s watch? Could it be unisex? Will it be rugged? Stylish? Playful or elegant? Analog or digital?
Ideation: Through sketching, you will explore design possibilities for your watch body and face. The more sketching you do, the more choices you have to pick from to proceed with your design. It might help you to photograph or scan your watch strap, and sketch over the images to ensure that your design truly matches the strap.
We will be looking at your sketches in groups. Ensure that they are large enough, and with enough contrast, to discuss among several others.Clay modeling: A clay model helps you to visualize the 2D sketches you’ve created in 3 dimensions. It also serves as an excellent tool for describing your design to others (clients, technicians, etc.) A 1:1 scale model might be too small and finicky to efficiently model. You may want to do a 2x or 3x scale model.
Keep in mind that the purpose of a clay model, at least in this application, is not so much about conveying the appearance of the face of the watch as it is about fleshing out the details of the FORM of the watch. The area where students struggle in this project is the connection between the strap and the body. Generally, there is some curvature in this area of the watch, to conform to the wrist. As well, the blend between the arms of the body and the body itself can be quite difficult to model, particularly if the modeller has a fuzzy idea of how it looks. Paying attention to these portions of the watch body in your clay model can literally save you HOURS of modelling time.
Unless the face of the watch is more three-dimensional than usual, it is generally not necessary to model it in any detail. You have already described the visual appearance of the face in sketches, and the CAD modelling of the face is usually fairly straightforward.CAD modeling: Your watch body will be modeled to scale in computer space, to match the CAD model of your watch strap.
In some instances, your CAD model would be used for rapid prototyping and tooling, necessitating a perfect, watertight model. In this instance, your CAD model will be for visualization purposes only.Photorealistic rendering: You will use Flamingo nXt to create photorealistic renderings of your watch body and strap.
Design presentation and critique: You will present your design, as well as all of the steps leading to it, in a presentation to the class. The presentation will be in digital format, with a maximum length of 6 minutes (excluding a question and answer period following each presentation.
Included in the presentation should be:A sampling of your ideation sketches (scanned).
Photograph(s) of your clay model.
Screen captures of your CAD model in progress, highlighting problems you encountered and how you resolved them, and/or especially complicated geometry you would like to showcase.
Photorealistic renders of the finished watch, highlighting any special features of the watch.
Designer: Ashley Silljer
(400-level Jewelry and Metals)
Designer: Jennifer Scheirer
(300-level Jewelry and Metals)
Designer: Danielle Baade
400-level Jewelry and Metals
Designer: Brittany Steinhubl
400-level Jewelry and Metals
Course evaluations,
JWLM216, ACAD, 2013 - 2014
Designer: Justin Sukeroff
400-level Jewelry and Metals
3D PRINTING PROJECT
ACAD’s campus sits beside the Southern Alberta Institute of Technology (SAIT), an educational juggernaut in Calgary. The two schools have had a loose affiliation for many years, and I have a number of contacts within SAIT.
SAIT has an amazing state-of-the-art 3D printing facility, and they generously offered to print our class submissions.
From the project brief:
“Using the tutorials Introduction to 3D Printing, CAD Modelling for 3D Printing, and Introduction to Technical Drawing (uploaded to Moodle), you will be responsible for the design of an object for 3D printing. You will then model your design in CAD, and prepare an appropriate file for 3D printing.”
Designer: Amanda Bongiovanni-Duclos
200-level BFA General Studies
Designer: Michaela Klassen
200-level BFA General Studies
Designer: Ashley Silljer
400-level Jewelry and Metals
Designer: Jade Usackas
300-level Glass
Designer: India Scard
100-level BFA General Studies
Jenn was intrigued with the possibility of printing one object entirely within another. She had seen a few examples when we took a field trip to SAIT’s 3D printing facility.
She created three spheres, representing water, earth, and sky.
The spheres were printed as a single object, and the tolerances in the 3D print were managed such that the individual spheres are free to revolve independently of each other.
Course evaluations,
JWLM216, ACAD, 2013 - 2014
Designer: Jennifer Scheirer
300-level Jewelry and Metals
MOVIE STUDIO ART DIRECTOR
School should be a time for adventure and experimentation, for pushing boundaries and testing limits, and this project was as free-spirited as I could come up with. This was the final project of the semester, and I wanted to give students free rein to put their CAD skills into something that really invigorated their creative spark.
From the project brief:
”The Dream Job
For artists and designers, the movie industry presents a vast opportunity: high paying jobs for those who can produce high-quality, unique, creative works quickly and efficiently. It’s an industry that rarely slows down, and the wide range of movies being filmed allows motivated individuals to match their particular skillsets to appropriate projects that truly inspire and invigorate them.
The creative needs of a film set are staggering and diverse: set design, prop design, effects design, wardrobe design, make-up design, hair design, jewelry design…
For Project 3, you will pick an existing movie, and design, model, and present an object or objects specifically for that movie. This is your dream job, so the choice of what you will design will be decided by you (with input from your classmates and instructor.) It could be jewelry, but it could be a number of other things: sets, props, vehicles, etc.”

Scene from Lord of the Rings trilogy
New Line Cinema, 2001 - 2003
Designer: Emmeli-Sue Klumpenhower
(400-level Jewelry and Metals)
Designer: Fei Su
(300-level BFA General Studies)

Scene from Game of Thrones
HBO, 2011 - 2019
Designer: Amanda Bongiovanni-Duclos
200-level BFA General Studies

Course evaluation,
JWLM216, ACAD, 2013 - 2014
Designer: Jennifer Scheirer
300-level Jewelry and Metals
from Homework Assignments 11 / 12:
Diamond Jewelry / Rendering Diamonds in Flamingo nXt
ASSIGNMENTS
Assignments were due every Thursday night via online submission (unless a Project was due that week).
Assignments usually focused on a few new CAD commands, or a particular type of jewelry. (I had many non-jewelry students in the class, but creating jewelry in CAD is excellent training for nearly any other kind of geometry one might encounter.)
Course evaluation,
JWLM216, ACAD, 2013 - 2014
ASSIGNMENT 2: LASER CUT EAR RINGS
My favourite assignment was due after just two classes.
Many of the students at ACAD attend the school because it has an excellent reputation as an institution where you can get a true hands-on education, learning techniques that have been practiced and passed on for literally centuries. Many of my students took the CAD course only because in our modern world, CAD skills can be a foot in the door.
I made it very clear early on with my classes that CAD was simply another tool in their toolbox; I wasn’t trying to persuade them to throw away the rest of their toolbox. But I did want to show them what a powerful tool it could be.
Curves are the basic building blocks of Rhino modeling, from which surfaces and solids are derived. You need to be able to make good curves to be able to make good solids, and (apart from the user interface and good modeling habits) curves are the first fundamental skill in Rhino I focus on.
Crucially, curves are also the only thing you need to be able to know how to make to get a file that you can export to CNC laser-cutters. A local laser-cutting service bureau generously offered to cut some ear rings for the class.
These designs were all finalized and ready for production after just 2 classes of introductions and instruction. We visited the laser-cutter the following week to watch the designs come to life in stainless steel on an industrial laser cutter.
(During breaks, many students were eager to show me their work from other classes: hand working silver and gold, forging intricate rings and blowing glass masterpieces. The more they struggled in my class, the more they were determined to show me how talented they really were.)
Designer: Mareike Stobbe
100-level First Year Studies
All earring renders: Cam Frith in Flamingo nXt
Designer: Katherine Wildgoose
200-level Jewelry and Metals
Designer: Danielle Baade
400-level Jewelry and Metals
Designer: Danielle Baade
400-level Jewelry and Metals
From the Assignment Brief:
“CNC (computer numeric controlled) cutters can cut intricate patterns into a variety of sheet materials, including stainless steel, aluminum, copper, silver, hardwoods, plywoods, acrylics, leather, and a host of other materials.
Many cities have co-operative shops which offer access to a range of equipment which might not be accessible to an independent designer on a budget. In Calgary, we have Protospace.
Protospace has a CNC laser cutter that is available for use to its members. Websites like etsy.com feature many independent artists who design jewelry via CAD, and produce their designs using services like those offered at Protospace.
Assignment 2 involves designing earrings for laser cutting. The number of earrings you design is up to you, but you should design earrings for a number of different materials (metal, plastic, leather, wood). You should spend no less than three solid hours on the project. Designers who are struggling with the software should be prepared to dedicate more than 3 hours to this assignment. It will seem like more fun once you’ve spent enough time to feel confident. If your designs are overly simple, there should be more of them. (Simple design is very often very elegant; however, you do need to practice your skills…)
The designs can be conceived entirely within Rhino, or you may wish to sketch them and trace your sketches from a background bitmap. Likely you will do some of both.”
Designer: Fei Su
(300-level BFA General Studies)
Designer: Jiyi Rhee
(300-level Drawing)
Designer: Jiyi Rhee
(300-level Drawing)
Designer: Fei Su
(300-level BFA General Studies)
Designer: Mareike Stobbe
100-level First Year Studies
Mareike recognized the potential for breakage in the surfer’s outstretched arm in her original design (left).
She experimented with supporting the cantilever structurally (right), before arriving at the final design (center).
They’re all three so good.
Designer: Melanie Archer
400-level Jewelry and Metals

Course evaluations,
JWLM216, ACAD, 2013 - 2014
TUTORIALS
Most classes had at least one demonstration, where I introduced new commands and concepts. I went step by step through the demo while the class repeated those steps on their own computers. Generally, the week’s homework assignment would build upon the concepts covered in the demo(s).
I created PDF versions of each of the demos, including text and Rhino screen captures. Students quickly learned that rather than taking notes during demos, which distracted them from the lesson, they could rely on thorough explanations of all the concepts covered within my accompanying tutorial.
Course evaluations,
JWLM216, ACAD, 2013 - 2014
Excerpt from Chain Necklaces tutorial
Designer: Jennifer Scheirer
300-level Jewelry and Metals
Designer: Katherine Wildgoose
200-level Jewelry and Metals
Designer: Mareike Stobbe
100-level First Year Studies
Designer: Mareike Stobbe
100-level First Year Studies
Course evaluations,
JWLM216, ACAD, 2013 - 2014
INSTRUCTOR FEEDBACK
At ACAD, I had the luxury of small enough class sizes (max 16 students) that it was possible to personalize assignment feedback to each student. More often than not I would include with the comments one or several Rhino screen captures, to better describe a technique or problem. Most classes started with a review of the results of the previous week’s assignment: I would highlight a few interesting submissions – for example, a particularly difficult geometry that wasn’t resolved (and how best to approach it), an error common to a significant portion of the class, or an amazing detail – and we would discuss them as a class. If I was particularly impressed with a model, or an aspect of a model, I would occasionally ask that student to come up to the front and go through their process, peer to peer.

Typical weekly assignment marking and feedback
JWLM216, ACAD, 2014
Stephen was an exceptional student who caught on very quickly to new techniques and concepts. During demos, he would often be pages ahead of me and the rest of the class, and working on two different Rhino models at once: my demo model (at my insistence) and one of his own design. In a class with some students who were struggling with the material, it was important to keep him engaged.
I encouraged students to assist each other during work periods, or while working together in the computer lab outside of class. (At the beginning of the course I set some ground rules to establish the difference between helping a peer and doing their homework for them.) Stephen was a great resource to the rest of his class, simultaneously raising the bar, and helping others to reach it.
Course evaluation,
JWLM216, ACAD, 2013 - 2014
Course evaluations are meant to be anonymous, but Stephen is the only student who could possibly have felt this way.
A number of students expressed the exact opposite sentiment.
My aim in marking Stephen was to assess him fairly in relation to his peers, but I pushed him creatively and technically much farther than I did most of the rest of the class.
My feedback to his submission in the 3D printing project was as follows:
“I really like the concept behind this pendant – the interlocking accessories could be a real trend among certain demographics. I think you should pursue the idea further. This summer, think about making a whole range of these. That’s another thing that will look really good in your portfolio: A complete line of products, and if they all work together, all the better. Do some great renders of each piece, and some great renders of interlocked pieces. Maybe print some out at Shapeways [online 3D printing service bureau].
As for this individual piece, I think it’s far from resolved. The bulbous shell, though WAY better than your initial form, is still less than aesthetically captivating. It’s close to symmetrical (top to bottom) but not quite, and thus looks like a mistake. It houses some interesting gears, but the windows into the workings are too few. You should introduce more Voronoi windows everywhere except where the axles need support.
The gears themselves could use some zazz. The cylinders inside are quite chunky. Steampunk gears (and gears in general) are usually lightened up (visually and literally) with aesthetically intriguing negative spaces.
The winder resembles an old-fashioned key… sort of. Google some antique key images and look at them. They are more elaborate, more textured. This one approximates the look, without capturing it. It’s too smooth, too bulbous, too blobular.
The attachment point (where it would meet other accessories) seems unresolved. What holds the next piece on? Once again, I think a visit to some antique machinery websites might help you resolve this.
I wouldn’t push every student in this class as far as I want you to take this design. But you can pull this off, and come up with some AMAZING portfolio work and perhaps your own niche right out of school. If you do it right. Spend some time on it and really work up the steampunk aspect. You’re not there yet.”
Designer: Stephen Holman
400-level Jewelry and Metals
I was pleased to see that Stephen had taken my advice when he contacted me the summer after the course ended, with renders and technical drawings of an expanded modular pendant/tool system he had started developing for the 3D printing assignment in my class.
Designer: Stephen Holman
ACAD Graduate, Jewelry and Metals
CNC MACHINING AT ACAD
ACAD has the smallest CNC mill I’ve ever used : a Roland MDX-15. It’s the size of a toaster oven, and the tooling for jewelry is minute: Some of the end mills I used at ACAD needed to be held up to a light to see that the cutting geometry was still intact. It’s used virtually exclusively for machining wax masters for casting.
Due to time constraints, I introduced the Roland CNC mill early in the semester, but I didn’t make a project or even an assignment out of it. Instead, I let the class come to me: If a student had a suitable project, I would mill it for them and as a class we would monitor its progress, from toolpathing through to completion.
Melanie designed this pendant in Rhino (right) for another class (something I strongly encouraged and facilitated).
She particularly struggled with the braided rope curving around the border of the frame.
Once we had finalized the geometry, this project was an excellent opportunity to discuss a number of issues related to CNC milling, including:
Undercuts
(the MDX-15 is a 3-axis mill)Accuracy based on tooling and stepover
Blank registration when milling from multiple planes
(the blank had to be milled from the bottom as well as the top)
I couldn’t help but be in awe of the traditional metalworking skills of my jewelry students. After she had cast the wax master (right) in silver, Melanie used a hammer and punch to create the Mad Hatter relief for the center of her cast pendant. A chemical bath gives it its brilliant colour (seen from the front, below left, and back, below right).
Designer: Melanie Archer
400-level Jewelry and Metals
Artisans have been making lost-wax castings for literally millennia. A micro CNC mill merely introduces a new wrinkle into a very old story.
On Emmeli-Sue’s Celtic Knot brooch, the pouring basin and two sprues are still attached to the piece. They will be removed and polished out by hand.
Designer: Emmeli-Sue Klumpenhower
(400-level Jewelry and Metals)
The texture in the negative space in the brooch was created in Rhino by applying a heightfield to a bitmap. In choosing between photographic textures, the designer can manipulate the geometry directly, which makes toolpathing trivial.
Course evaluations,
JWLM216, ACAD, 2013 - 2014